Parents and teachers often wonder how to keep kids excited about learning to code while avoiding abstract exercises that quickly lose interest.
The answer is to let them program real robots, using guided projects that turn code into motion and story.
Why robotics coding engages children better than screen‑only lessons
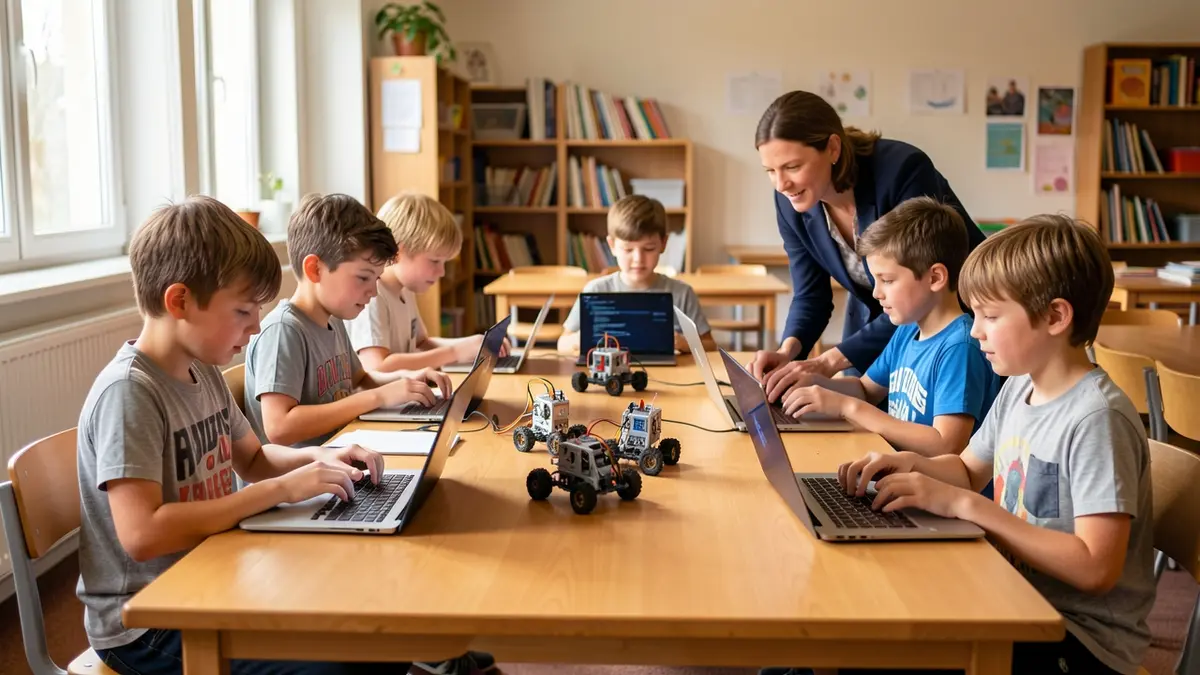
When a child writes code that instantly powers a moving robot, the brain registers a concrete cause‑and‑effect loop. The tactile sensation of a wheel turning, a light flashing, or a sensor reacting creates a feedback cycle that pure screen simulations cannot match. This physical reinforcement strengthens memory encoding and keeps attention focused, because the learner can see the direct impact of each line of code in the real world.
Embodied learning and motivation
Embodied learning theory shows that motor actions linked to cognitive tasks boost engagement. In a classroom, a child who presses “upload” and watches a robot roll forward feels a sense of agency that a virtual avatar cannot provide. The immediate, observable result triggers dopamine release, reinforcing the desire to experiment further. Repeating this loop—write, test, observe—builds confidence and encourages persistence when debugging.
Fast feedback with Carpathron Robotics & Coding
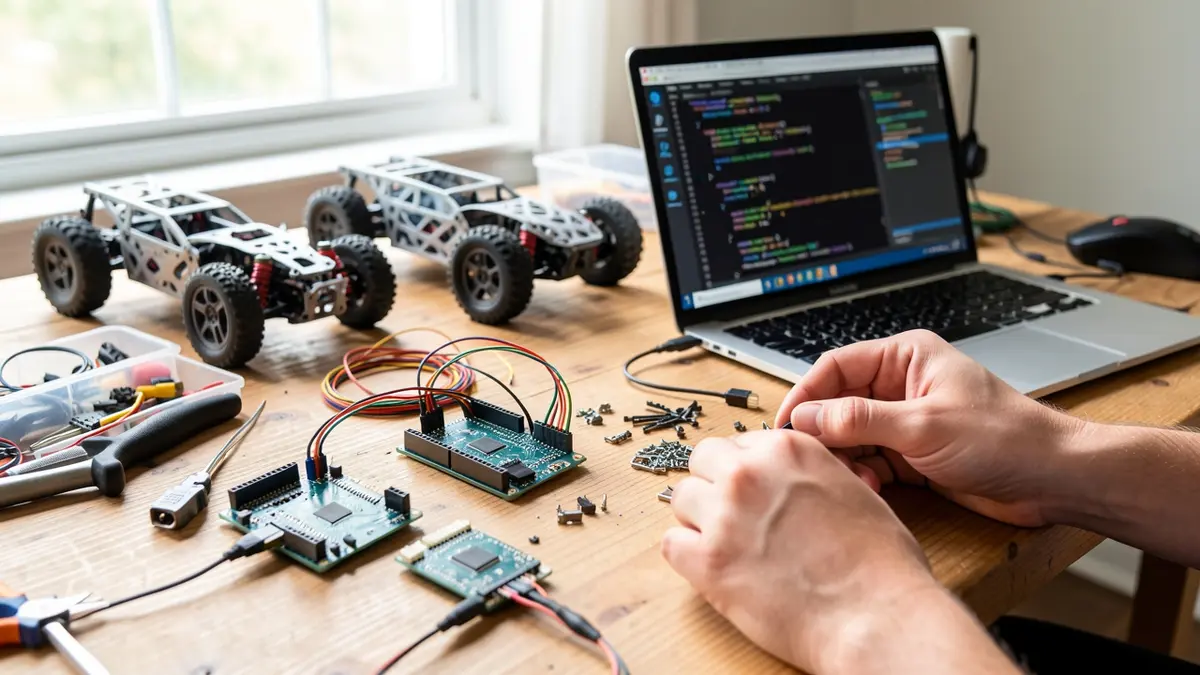
The Carpathon Robotics & Coding Windows app streamlines the feedback loop. It automatically detects connected boards such as Arduino, ESP32, or Raspberry Pi, eliminating the need for manual port selection. After a child writes a sketch, the AI‑assisted assistant suggests syntax fixes and then uploads the firmware with a single click. Within seconds the robot executes the new behavior, turning abstract code into tangible motion.
This rapid turnaround shortens the waiting period that often frustrates beginners. Instead of spending minutes configuring drivers, students spend more time iterating on logic, seeing the robot respond to conditional statements, loops, or sensor inputs in real time.
Social interaction and collaborative play
Physical robots become shared objects in the classroom. Children can gather around a robot, discuss why it veered off course, and collectively adjust the program. The presence of a tangible device fosters peer teaching, as more experienced learners demonstrate board detection or firmware upload steps on the Carpathon app. Such collaborative moments are harder to achieve with isolated screen‑only exercises.
Linking cognition to real‑world concepts
Robotics projects naturally embed STEM concepts—mechanics, electronics, and programming—into a single activity. When a child observes a robot navigating a maze, they implicitly grasp geometry, speed, and sensor thresholds. The Carpathon platform’s ability to detect boards and manage firmware reduces technical overhead, allowing educators to focus on these underlying principles rather than on setup complexities.
By integrating Carpathon Robotics & Coding (product page) into lessons, teachers provide a seamless bridge between code and motion. The tangible outcomes, rapid feedback, and collaborative environment together create a learning experience that outperforms screen‑only curricula, keeping children motivated to explore deeper levels of robotics coding.
Choosing the right robot platform for beginners
Cost‑effective hardware options
For schools that need to stay within a tight budget, two hardware families dominate the entry‑level market: ESP32‑CAM robot cars and Arduino‑compatible boards. An ESP32‑CAM kit typically includes a microcontroller, a camera module, and a chassis that can be assembled in under an hour. Prices range from €15 to €30 per unit, and the board provides built‑in Wi‑Fi, which simplifies remote control and firmware updates.
Arduino starter kits focus on simplicity. A basic Arduino Uno or Nano board costs around €10, and the ecosystem offers a vast library of sensor modules (ultrasonic, line‑track, light). While Arduino lacks native video streaming, its pin‑out is straightforward for wiring LEDs, motors, and basic distance sensors, making it ideal for projects that emphasize logic over vision.
Why the Baby Carpathron ESP32‑CAM car stands out
The Baby Carpathron ESP32‑CAM robot car is a ready‑made platform that combines the affordability of an ESP32 board with a purpose‑built chassis. Its open Carpathron Robot Protocol uses standard HTTP requests for command and control, and it streams MJPEG video directly from the on‑board camera. This means a teacher can issue a GET /move?direction=forward&speed=50 request from any web browser and view the live feed without additional software.
Because the protocol is open, the car can be integrated with the free Carpathron Robotics & Coding Windows app available on the Microsoft Store. The app detects the ESP32‑CAM board, assists in writing firmware, and uploads it with a single click, removing the need for command‑line tools.
Arduino vs. ESP32‑CAM for classroom flow
- Setup time: ESP32‑CAM cars arrive pre‑wired; Arduino kits require students to connect motor drivers and power modules.
- Programming language: Both use C/C++ in the Arduino IDE, but the ESP32‑CAM can also be programmed with MicroPython for rapid prototyping.
- Feedback mechanisms: ESP32‑CAM provides live video, which is useful for debugging navigation algorithms. Arduino relies on LEDs or serial output, which can be less intuitive for younger learners.
- Scalability: An Arduino board can be reused across many projects (line following, obstacle avoidance, weather stations). The Baby Carpathron car is specialized for mobile robotics but can be repurposed by swapping the chassis or adding sensor shields.
Integrating the platform with curriculum
When selecting a platform, align the hardware capabilities with the learning objectives. If the lesson plan focuses on visual perception—such as recognizing colored lines or tracking objects—the ESP32‑CAM’s camera stream offers immediate, tangible results. For lessons that emphasize algorithmic thinking, Arduino’s straightforward I/O pins let students experiment with sensor arrays without the overhead of video processing.
Both platforms are supported by the Carpathron Robotics & Coding suite, which provides AI‑assisted code suggestions and one‑click firmware uploads. Detailed specifications and download links are available on the Robotics page.
Tip: Start each class with a short “ping” test—send a simple HTTP request to the ESP32‑CAM car and verify the MJPEG stream appears. This confirms network connectivity before students begin coding.
Setting up Carpathron Robotics & Coding for the classroom
Begin by adding the Carpathron Robotics & Coding app to each classroom PC. The app is free on the Microsoft Store and runs on Windows 10 or later. Once installed, the AI assistant can recognise Arduino, ESP32, Raspberry Pi and similar boards, then help students write and upload firmware.
- Open the Microsoft Store and search for “Carpathron Robotics & Coding”. Click Get and wait for the download to finish; the app appears on the desktop as
Carpathron Robotics & Coding. - Launch the app and sign in with a classroom email. The first screen shows a Board detection button; no additional configuration is required.
- Connect a development board to the PC via USB. The app automatically scans the USB ports, recognises the board type (e.g., Arduino Uno, ESP32‑CAM) and displays a thumbnail.
- Activate AI assistance. Click the AI Help icon; a chat window opens where students can describe the desired behaviour, such as “blink an LED every second”. The AI generates the corresponding sketch and inserts it into the editor.
- Review and edit the generated code. The editor highlights syntax errors and offers suggestions. Teachers can lock the window to prevent accidental changes during a demo.
- Upload the firmware. Press the Upload button; the app compiles the sketch, flashes the board, and confirms success with a green check.
- Test robot control. For a Carpathron robot car, select Control → Live View to see the MJPEG stream and use the on‑screen joystick or voice commands via WhatsApp integration.
- Save the project to the classroom library. Choose Save → Classroom Library and give the project a descriptive name; students can reload it later from the QuBIOS collection.
After the initial setup, teachers can repeat steps 3‑7 for each new board. The AI assistance remains available offline, so no internet connection is needed once the app is installed. For deeper integration with Meta Quest headsets, refer to the Carpathron robotics page, which describes the Carpathron Avatar and its head‑tracking controls.
Project 1: Line‑following maze challenge
Materials and robot selection
The challenge works with any Carpathron robot that supports line‑following sensors, such as the Baby Carpathron ESP32‑CAM robot car. Ensure the robot is powered, the wheels rotate freely, and the built‑in camera is enabled for visual debugging. The Windows AI agent from Carpathron Robotics & Coding will assist in generating the required code.
Preparing the maze
Print a simple black‑on‑white track on A4 paper and tape it to a flat surface. Create a “U”‑shaped turn, a short dead‑end, and a final straight segment that leads to a marked finish zone. The track width should be about 2 cm so the robot’s line sensor can detect the contrast reliably.
Generating basic sensor code
Open the Carpathron AI agent on a Windows PC. In the chat window, type: “Write Arduino code for an ESP32‑CAM robot to follow a black line using the built‑in line sensor and stop at a white finish line.” The agent returns a setup() function that configures the sensor pins and a loop() that reads the sensor value, adjusts motor speed, and checks for the finish condition. Copy the generated code into the Arduino IDE, select the ESP32‑CAM board, and click **Upload**.
Testing and tuning
- Place the robot at the start line and press the “Run” button in the AI agent’s UI to launch the uploaded firmware.
- Observe the robot’s behavior; if it drifts off the track, return to the AI chat and ask: “Increase the proportional gain for left‑right correction.” The agent will provide an updated
adjustMotors()snippet. - Replace the snippet, re‑upload, and repeat until the robot follows the line smoothly through the turns.
Adding maze logic
To make the robot stop at dead‑ends, ask the AI agent: “Add code that detects a loss of line for more than 0.5 seconds and then reverses for 2 seconds before turning right.” The agent supplies a small routine that uses a timer and motor direction commands. Insert this routine after the line‑following block, compile, and upload again.
Running the challenge
Divide the class into small teams. Each team loads the final firmware onto their robot, places the maze on the table, and starts a timed run. Record the time it takes for the robot to reach the finish zone without manual intervention. Encourage students to experiment with different turn‑speed values suggested by the AI agent to improve performance.
Tip: When the robot stalls at a corner, ask the AI agent to “increase the turn speed for right turns only.” The targeted adjustment often resolves cornering issues without affecting straight‑line speed.
Extending the project
After mastering the basic line‑following behavior, students can explore the Carpathron Avatar app on Meta Quest 3/3S to view the robot’s camera feed in VR, providing a first‑person perspective of the maze. This extension links the physical robot to a virtual environment, reinforcing spatial reasoning while staying within the same coding framework.
Project comparison table
Below is a concise comparison of three starter projects that work well with the Carpathron Robotics & Coding suite. The table highlights the difficulty level, the hardware you need to have on hand, and the core learning outcomes each activity delivers. Use it to match a project to your class’s skill level and curriculum goals.
All three projects can be launched from the Carpathon Robotics & Coding Windows app. The AI assistant helps you generate the initial firmware, then you upload it to the robot with a single click. For the story‑driven film, the Carpathron Avatar app on Meta Quest 3 provides a first‑person view, letting students steer the robot simply by moving their head.
When selecting a project, consider the class’s prior exposure to programming constructs. The line‑following maze requires only simple if‑else statements, making it ideal for students who have just started using the AI code helper. The obstacle‑avoidance challenge introduces sensor fusion and requires students to think about timing, which reinforces concepts taught in early middle‑school math. The story‑driven film pushes learners toward event‑driven design and multimedia integration, aligning with high‑school robotics clubs that aim to produce showcase videos.
Each activity also supports the long‑term goal of building modular utility robots. By reusing the same hardware across projects, students see how a single platform can evolve from basic line tracking to sophisticated interactive storytelling, reinforcing the value of incremental learning.
Extending learning with Carpathron Studio for story films
Qubitpage’s current product lineup includes the Carpathron Robotics & Coding Windows app and the Carpathron Avatar for Meta Quest devices. Both tools let students program robot actions and view live video streams from the robot’s camera. While these applications support interactive control and AI‑assisted firmware development, the available documentation does not describe a separate “Carpathron Studio” product for video rendering.
Because a dedicated studio for turning robot sequences into short films is not listed among Qubitpage’s official offerings, educators can instead use the existing video feed from the Baby Carpathron ESP32‑CAM robot or the Carpathron Avatar. By recording the MJPEG stream while the robot performs a scripted routine, students obtain raw footage that can be edited with any standard video‑editing software.
Capturing robot actions
Start the Carpathron Robotics & Coding app on a Windows PC and connect the robot via the open Carpathron Robot Protocol (HTTP). Use the “View Camera” feature to display the live MJPEG feed. When the robot executes a pre‑written movement sequence—such as navigating a maze or performing a dance—press the built‑in “Record” button to save the stream as an MP4 file. The file is stored in the app’s default output folder, which can be opened from the “Open Folder” command.
For Meta Quest users, launch the Carpathron Avatar app, put on the headset, and look around to follow the robot’s perspective. The avatar captures a 360° view that can be exported via the “Export Video” option. This export creates a video file compatible with common editors like Windows Video Editor or DaVinci Resolve.
Editing the footage into a story
Import the recorded video into a video‑editing program. Add a title screen that introduces the robot’s mission, then trim the clips to highlight key actions. Use the software’s text overlay tools to add narration or captions that explain the coding logic behind each movement. Simple transitions—fade‑in, cross‑fade, or cut—keep the story flow clear for younger viewers.
To enrich the narrative, overlay background music from royalty‑free sources and insert sound effects that match robot actions (e.g., a “beep” when the robot reaches a checkpoint). Export the final film in a resolution supported by classroom projectors, typically 1080p at 30 fps.
Sharing and reflecting
After the film is complete, teachers can upload it to a class‑wide sharing platform or to a private YouTube playlist. Encourage students to write a brief reflection on how the robot’s code translated into visual storytelling. This step reinforces the connection between programming concepts and real‑world outcomes, turning a technical exercise into a creative showcase.
For more details on Qubitpage’s robotics tools, see the Carpathron robotics page or explore the Carpathron Robotics & Coding app on the Microsoft Store.
Frequently asked questions
How much does Carpathron Robotics & Coding cost for a school?
Carpathron Robotics & Coding is offered as a free Windows app on the Microsoft Store, so there is no purchase price for schools. The app includes AI‑assisted board detection, firmware generation and robot control without additional licensing fees. Schools can install the app on any compatible Windows device and start using it immediately.
Can I use Carpathron Remote to help students troubleshoot robot code?
Carpathon Remote is not part of the Qubitpage product portfolio, and therefore it cannot be used for robot code troubleshooting. The available tools for debugging are built into the Carpathron Robotics & Coding app, which lets users view board detection results and edit firmware before uploading it to the robot.
What age group is the Baby Carpathron ESP32‑CAM robot suitable for?
The Baby Carpathron ESP32‑CAM robot car is designed for educational settings and works well with children in primary and early secondary school, typically ages 8 to 14. Its open Carpathron Robot Protocol (HTTP + MJPEG) allows simple programming exercises while the hardware remains safe and robust for younger learners.
Do I need an internet connection for AI assistance in the robotics app?
Yes, the AI assistance that powers board detection and firmware generation in Carpathron Robotics & Coding requires an active internet connection. The app sends image data to the cloud service to obtain AI‑based suggestions, then returns the generated code for local upload.
Is there a free tier that allows enough sessions for a weekly class?
The free version of Carpathron Robotics & Coding does not impose a session limit, so a weekly class can run as many times as needed. Each session can detect boards, generate firmware and control robots without additional cost, making it suitable for regular school curricula.
Putting it all together for lasting interest
Start each session with a clear, bite‑size goal—such as making a robot blink an LED or follow a line—so children see immediate results. Rotate activities between hands‑on building, visual coding blocks, and brief reflection periods where kids explain what worked and why. This rhythm keeps curiosity high and reinforces problem‑solving habits.
Leverage the Carpathron Robotics & Coding app to streamline hardware setup: the AI assistant can identify the board, suggest the correct firmware template, and upload it with a single click. Pair the Muse Carpathron agent on a Meta Quest headset for immersive debugging; turning the head to steer the robot turns abstract code into tangible motion.
Encourage collaboration by assigning roles—designer, coder, tester—and using WhatsApp voice messages for quick command tweaks. When a project succeeds, document the steps in a shared folder so the next group can build on the same foundation, turning each robot into a stepping stone for more complex builds.
Ready to bring these ideas to life? Explore the full range of Carpathron tools on our robotics page and start building the next generation of creators.