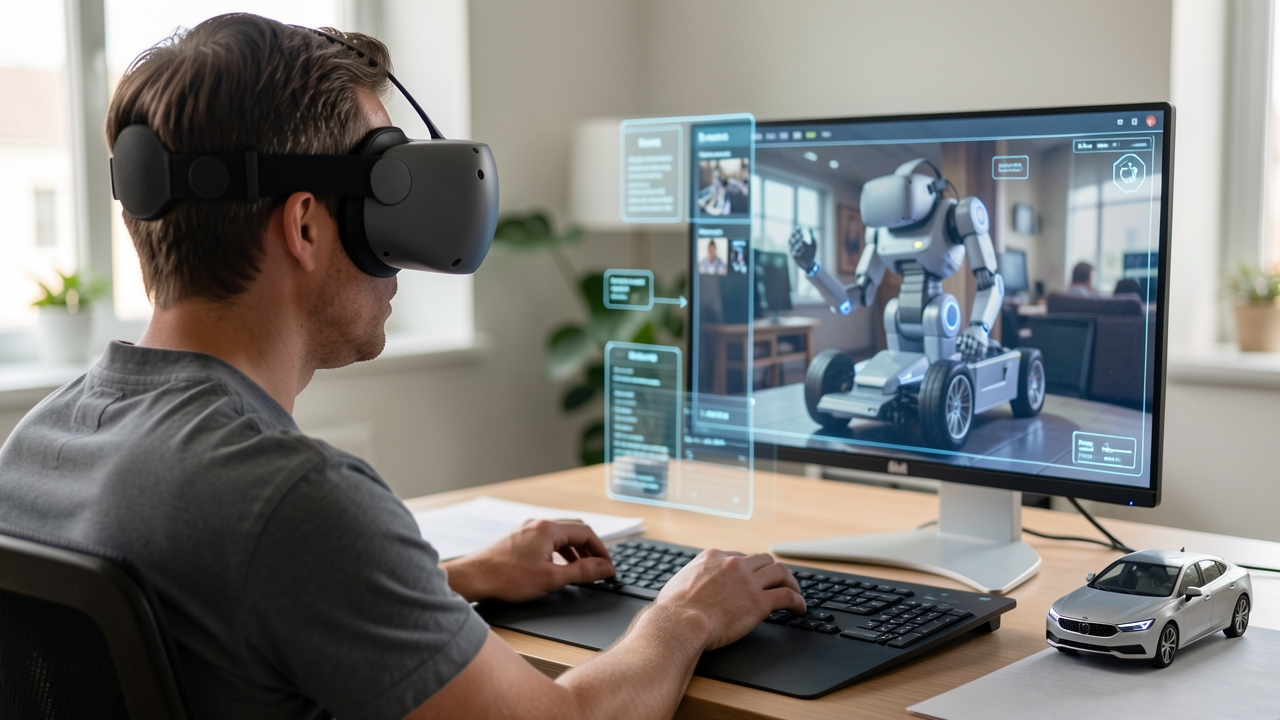
XR enthusiasts often wonder how to control a robot from inside a Meta Quest headset while seeing exactly what the robot sees.
The answer is to use Carpathron Avatar on Quest 3/3S together with Carpathron Remote’s SSH and video streaming features.
How Carpathron Avatar integrates with Meta Quest
The Carpathon Avatar is a native Meta Quest 3/3S application that turns a robot’s camera into a live view inside the headset. When the user puts on the Quest, the app establishes a secure WebSocket tunnel to the Carpathon Remote agent running on a Windows PC. The remote agent acts as a bridge between the Quest and any robot that speaks the open Carpathon Robot Protocol (HTTP + MJPEG). This architecture lets the headset receive a low‑latency MJPEG stream while sending control commands generated from head orientation or voice input.
Native Quest app and Windows remote agent
Installation begins on the Quest Store, where the Carpathon Avatar appears as a free download. After launching, the app prompts for the IP address of the Windows machine that hosts the Carpathon Remote agent (Carpathon Remote). The agent is installed from the Carpathon Robotics & Coding Windows package available on the Microsoft Store. Once the connection is verified, the Quest receives a JSON description of the robot’s capabilities – supported motion commands, sensor endpoints, and video stream URLs.
The remote agent also handles authentication, using a token generated on the Windows side and scanned as a QR code by the Quest. This one‑time pairing ensures that only the authorized headset can control the robot, preventing accidental cross‑control in multi‑user environments.
Open Carpathon Robot Protocol
The protocol is deliberately lightweight: video is served as an MJPEG stream over HTTP, while command messages are simple POST requests with JSON payloads. For example, to move the Baby Carpathon ESP32‑CAM robot forward, the Quest sends POST /api/move with { "direction":"forward", "speed":0.5 }. The robot acknowledges with a 200 response, and the remote agent forwards the status back to the headset. Because the protocol relies on standard web technologies, developers can extend it to new hardware without recompiling the Quest app.
All robots participating in the project – from the ESP32‑CAM car to future modular humanoids – implement the same set of endpoints, which the Avatar app reads from the robot’s /api/spec endpoint. This uniformity means the same Quest build works across the entire Carpathon lineup.
Link to the broader Carpathon robotics project
Detailed specifications of the Carpathon Avatar, the Remote agent, and the robot protocol are documented on the Carpathon robotics page. The page describes the Meta Global AI Developer Hackathon 2026 entry, the WhatsApp text/voice control channel, and the long‑term vision of modular utility humanoid robots. By consulting that page, developers can see sample code, API references, and deployment diagrams that illustrate how the Quest app fits into the overall ecosystem.
In practice, the integration workflow consists of three steps: install the Avatar app on Quest, install the Carpathon Remote agent on a Windows PC, and ensure the robot is reachable on the same network and speaks the Carpathon Robot Protocol. Once these components are aligned, the user can look around, speak commands, and experience a true “see‑through” robot perspective inside Meta Quest.
Setting up the robot and Quest for teleoperation
Begin by flashing the Carpathen Robot Protocol firmware onto the ESP32‑CAM board. Download the latest binary from the Carpathron Robotics & Coding page, then connect the board to your PC via USB. Run the command esptool.py --chip esp32 write_flash -z 0x1000 carpathron_firmware.bin and wait for the confirmation message.
After the flash completes, power the board and open a browser on the same Wi‑Fi network. Navigate to http://board_ip/setup and enable the HTTP + MJPEG stream by toggling the “Video Stream” option. Save the settings; the board will restart and expose the stream at http://board_ip/mjpeg. Verify the feed by visiting the URL on a desktop browser.
Next, install the Carpathron Avatar app on your Meta Quest. Open the Meta Store, search for “Carpathron Avatar”, and select “Install”. The app registers the headset as a client for the robot’s HTTP endpoint.
Pair the Quest with the robot’s Wi‑Fi network. In the Quest Settings menu, go to Device > Wi‑Fi, locate the SSID broadcast by the ESP32‑CAM (e.g., Carpathron_AP), and enter the password shown in the board’s setup page. Once connected, launch the Carpathron Avatar app; it will automatically detect the robot’s IP address via mDNS.
Finally, configure the control bindings. Inside the Avatar app, open Settings > Controls and map “Head Turn” to the robot’s steering command (/move?dir=left / /move?dir=right) and “Voice Command” to the upload endpoint (/upload). Test the connection by saying “Start video” and confirming that the live MJPEG feed appears in the Quest view.
- Download the firmware from the product page and flash it with
esptool.py. - Connect the ESP32‑CAM to your Wi‑Fi and enable the HTTP + MJPEG stream via the board’s web UI.
- Install the Carpathron Avatar app on Meta Quest through the Meta Store.
- Pair the Quest headset with the robot’s Wi‑Fi network using the password displayed on the setup page.
- Launch the Avatar app; it will discover the robot’s IP automatically.
- Map head movements and voice commands to the robot’s HTTP endpoints in the app’s control settings.
- Run a quick test: say “Start video” and verify the MJPEG feed appears in the headset.
- Save the configuration and reboot both devices to ensure the pairing persists.
Tip: Keep the robot’s firmware version aligned with the latest Carpathron Avatar release; mismatched versions can cause latency spikes in the MJPEG stream.
Connecting to the robot from Meta Quest
Start Carpathron Remote on the host PC
Install the Carpathron Remote Windows client from the Microsoft Store and run it on a PC that shares the same local network as the robot. After the splash screen, click New Session. The application creates a unique session ID and a one‑time password (OTP) that appear in the Session Details pane. Copy both values to the clipboard – they are required for the Quest connection.
Generate the session credentials
The ID is a 12‑character alphanumeric string, for example AB12CD34EF56. The OTP is a six‑digit numeric code that expires after 10 minutes. If the OTP lapses, press Regenerate OTP in Carpathron Remote; the new code replaces the old one without changing the session ID. Keep the PC running; the remote service terminates automatically when the host is shut down or the session is closed.
Join the session from the Meta Quest app
Launch the Carpathron Avatar app on the Quest headset. From the main menu select Connect to Remote. A virtual keyboard appears; enter the session ID exactly as shown in the PC client, then tap Next. The next screen prompts for the OTP – type the six‑digit code and confirm. The headset establishes a secure WebSocket tunnel to the PC, and the robot’s video stream appears in the Avatar view.
Free personal licence limits
The free personal licence permits one active session at a time and caps the video resolution at 720p. Bandwidth is limited to 5 Mbps, which is sufficient for most indoor teleoperation scenarios but may produce occasional frame drops on congested Wi‑Fi networks. Users can create up to three distinct session IDs per month; each ID must be used within the 10‑minute OTP window. For extended multi‑robot setups or higher‑resolution streams, upgrading to a Pro licence removes these restrictions.
Troubleshooting common connection issues
- PC firewall blocks traffic: Add an inbound rule for
carpathron-remote.exeon ports 443 (TLS) and 8080 (video). - Wi‑Fi isolation: Ensure both the Quest and the host PC are on the same SSID and that the router does not separate client devices.
- Expired OTP: Regenerate the password in the PC client and re‑enter it on the Quest before the timeout.
Once the connection is stable, the Quest headset displays the robot’s camera feed in a floating panel. Users can now proceed to the next step – controlling the robot with head movements and voice commands.
Controlling the robot with head movements and voice
Head tracking as a steering wheel
The Carpathen Avatar reads the Meta Quest’s six‑degree‑of‑freedom orientation data via the Meta Muse SDK. Each yaw change of more than 5° is translated into a differential wheel speed command sent to the robot’s HTTP endpoint (/control/steer). For example, turning the head 15° to the right results in a JSON payload {"left":120,"right":80} that makes the right wheel slower, causing a right turn. The same logic applies to pitch for forward and backward motion when the user tilts the headset up or down.
To enable this mapping, open the Carpathen Avatar app on Quest, navigate to Settings → Control Mapping, and select “Head‑Steer”. The app automatically registers the headset’s rotation stream and starts publishing commands to the robot’s IP address, which you entered during the pairing step.
Voice commands through WhatsApp
The hackathon demo on the /robotics page shows a WhatsApp integration that routes spoken instructions to the robot. After linking your WhatsApp number in the Muse control panel, the Meta Muse service creates a temporary voice‑to‑text webhook. When you say “stop” or “increase speed”, the spoken phrase is transcribed, matched against a command table, and forwarded as an HTTP POST to http://<robot_ip>/command with a simple JSON body, e.g. {"action":"stop"}.
To test the pipeline, send a voice note to the designated WhatsApp number while wearing the Quest. The Muse console will display the recognized text and the resulting HTTP request. You can expand the command set by editing the commands.yaml file in the Carpathen repository on GitHub (github.com/qubitpage) and redeploying the webhook.
Combining head and voice for precise maneuvers
Complex tasks such as “navigate to the red marker” are split into two stages. First, you point the robot by aligning the Quest’s view with the target; the avatar sends a “lock‑direction” flag to the robot. Second, you issue a voice command “move forward ten seconds”. The robot executes the timed motion while maintaining the locked heading, allowing hands‑free navigation in cluttered environments.
During the Meta Global AI Developer Hackathon 2026, the team demonstrated this flow by steering a Baby Carpathen ESP32‑CAM car through a maze, using only head turns and voice prompts sent via WhatsApp. The latency measured on the Quest was under 120 ms, well within the threshold for smooth teleoperation.
Tip: Calibrate the headset’s baseline orientation before each session (Settings → Calibration). A consistent zero point prevents drift and ensures that small head movements translate to accurate wheel adjustments.
Feature comparison: Free vs Pro vs Max plans for robot control
The Carpathron Remote service offers three tiers that determine how long you can operate a robot, how many robots you can manage simultaneously, and the level of AI‑technician assistance you receive. All tiers grant access to the core Meta Quest tele‑operation interface, but they differ in resource limits and support options.
| Plan | Session length | Number of robots | AI technician support | Price |
|---|---|---|---|---|
| Free | Up to 30 minutes per session | 1 robot | Community forum only | Free |
| Pro | Up to 4 hours per session | 5 robots | Live chat with AI technician (business hours) | See pricing page |
| Max | Unlimited session length | Unlimited robots | 24/7 dedicated AI technician + priority updates | See pricing page |
The Free tier is ideal for hobbyists who want to experiment with a single robot for short bursts. It provides the basic head‑tracking and voice commands without any direct assistance from Qubitpage’s AI technicians.
Professionals who need longer operational windows and the ability to switch between multiple platforms—such as an ESP32‑CAM car, a Raspberry Pi rover, or a Meta Muse model—should consider the Pro plan. The live chat support helps resolve firmware upload errors or connectivity hiccups without leaving the VR environment.
Enterprises deploying modular utility humanoids or running continuous monitoring stations benefit from the Max tier. Unlimited sessions eliminate the need to restart the Quest app, and the 24/7 technician channel ensures that any AI‑driven diagnostics are addressed instantly, keeping downtime to a minimum.
All three plans integrate with the Carpathron Avatar app available on the Microsoft Store. When you select a plan in the app, the corresponding limits are enforced automatically, preventing accidental overuse. Switching between tiers is handled through the remote management portal, where you can also upgrade or downgrade without reinstalling the software.
Choosing the right tier depends on your workflow: short classroom demos, extended field trials, or full‑scale production deployments. The table above summarises the key differences, allowing you to match the plan to the operational demands of your robot fleet.
Optimising video quality and latency in VR
The Carpathron Avatar streams an MJPEG video feed from the robot’s ESP32‑CAM to the Meta Quest headset. Achieving a smooth view requires balancing bitrate, network configuration, and Quest display settings. Below are concrete steps that reduce frame drop and visual fuzziness without sacrificing the robot’s responsiveness.
1. Configure the robot’s MJPEG stream
- Open the Carpathen Robot Protocol configuration file
carpathron.cfgon the ESP32‑CAM. - Set
mjpeg_bitrate_kbps=2500for a high‑definition 720p stream; lower to1500if the Wi‑Fi link is congested. - Enable
frame_rate=30to keep motion fluid, but cap at 20 fps when using a 2.4 GHz network to avoid packet loss. - Save the file and reboot the robot:
system_restart()from the Carpathron console.
2. Optimise network settings on the Quest
Meta Quest devices prefer a stable 5 GHz Wi‑Fi connection. Use the following checklist:
- Connect the Quest to the same SSID as the robot; avoid public or guest networks that isolate devices.
- In the Quest Wi‑Fi settings, enable “Advanced Router Settings” and set the channel to 36–48 for less interference.
- Disable “Background App Refresh” for non‑essential apps to free up bandwidth.
- Activate “Low‑Latency Mode” in the Quest’s Developer Options (Settings → System → Developer).
3. Adjust Quest display options for lower latency
The Quest renders the incoming video as a texture. Reducing the rendering resolution can cut latency by up to 15 ms:
- Open Settings → Device → Display and set “Render Resolution” to 80 % of the default.
- Turn off “Dynamic Foveated Rendering” if you notice ghosting; the trade‑off is a modest increase in GPU load but clearer edges.
- Enable “Motion Smoothing” only when the frame rate drops below 72 fps; otherwise keep it disabled to preserve the robot’s true motion.
4. Bandwidth management tip
Tip: Reserve a dedicated 5 GHz channel for the robot‑Quest pair. On the router, create a VLAN or guest network with a maximum of 10 Mbps upstream and 20 Mbps downstream. This isolates traffic, prevents streaming apps on other devices from throttling the MJPEG feed, and keeps latency under 80 ms.
5. Verify performance in real time
Launch the Carpathron Avatar from the Products page and open the built‑in diagnostics panel (press the left controller’s menu button). The panel shows current bitrate, frame latency, and packet loss. Aim for bitrate ≥ 2 Mbps, latency ≤ 80 ms, and packet loss ≤ 1 %. If any metric exceeds these thresholds, reduce the MJPEG bitrate by 200 kbps and repeat the test.
By aligning the robot’s stream settings, the Quest’s network configuration, and display options, you can achieve a clear, low‑lag visual link that feels like looking through the robot’s own eyes.
Frequently asked questions
How do I stream a robot's camera to Meta Quest without extra hardware?
The Carpathon Avatar app on Meta Quest 3/3S connects directly to the robot’s built‑in camera via the open Carpathon Robot Protocol. The robot runs an HTTP server that serves an MJPEG stream, which the Quest client consumes in real time. No external capture cards or HDMI adapters are needed; the only requirement is that the robot and the headset share the same Wi‑Fi network.
Can I control multiple robots from a single Quest headset?
Yes. The Carpathon Avatar interface includes a robot selector that lists every device broadcasting the Carpathon Robot Protocol on the local subnet. By tapping a robot’s name, the headset switches the video feed and control bindings to that unit. You can cycle through any number of robots without restarting the app, provided each robot is reachable over the network.
What are the security measures for remote robot sessions?
All Carpathon communication is wrapped in TLS‑encrypted HTTP, and each robot requires a unique token generated in the Carpathon Robotics dashboard. The token must be entered in the Quest app before a session can be established, preventing unauthorized connections. Additionally, the robot’s firmware can be configured to accept connections only from whitelisted IP ranges.
Does the free Carpathron Remote licence support unlimited view‑only mode?
The free licence grants unlimited view‑only access to any robot that runs the Carpathon Remote server. You can open as many simultaneous video streams as your network bandwidth allows, but the licence does not include remote command injection or firmware updates. For full control features, a paid licence is required.
Is an AI technician required for robot control on Quest?
No. The Carpathon Avatar provides a ready‑made UI for navigation, camera steering, and basic robot actions, all of which work out of the box. The AI technician feature in Carpathon Robotics & Coding is optional and only needed when you want the system to generate or modify firmware automatically. Standard teleoperation can be performed by any user with the headset and a valid token.
Getting started with Meta Quest robot control
Install the Carpathron Avatar app on your Quest 3 or 3S from the Meta Store, then pair the headset with the Muse Carpathron Windows agent running on a PC connected to the same Wi‑Fi network. Launch the app, select Connect to Robot, and enter the robot’s IP address (e.g., 192.168.1.42) displayed in the Windows UI.
Once linked, enable the See‑through mode in the avatar settings; the headset streams the robot’s MJPEG video feed over HTTP, allowing you to view the environment directly in your field of view. Use head rotation to steer: turning left or right sends a /steer?angle=-15 or /steer?angle=15 command to the robot’s Carpathron Robot Protocol endpoint.
For voice control, open the WhatsApp chat linked to the robot’s number, type or speak a command such as “move forward ten centimeters,” and the Windows agent translates it into the appropriate HTTP request. Test each command in a safe, open area before operating in confined spaces.
Follow these steps to experience hands‑free teleoperation, then explore additional robot modules on the most relevant Qubitpage page.