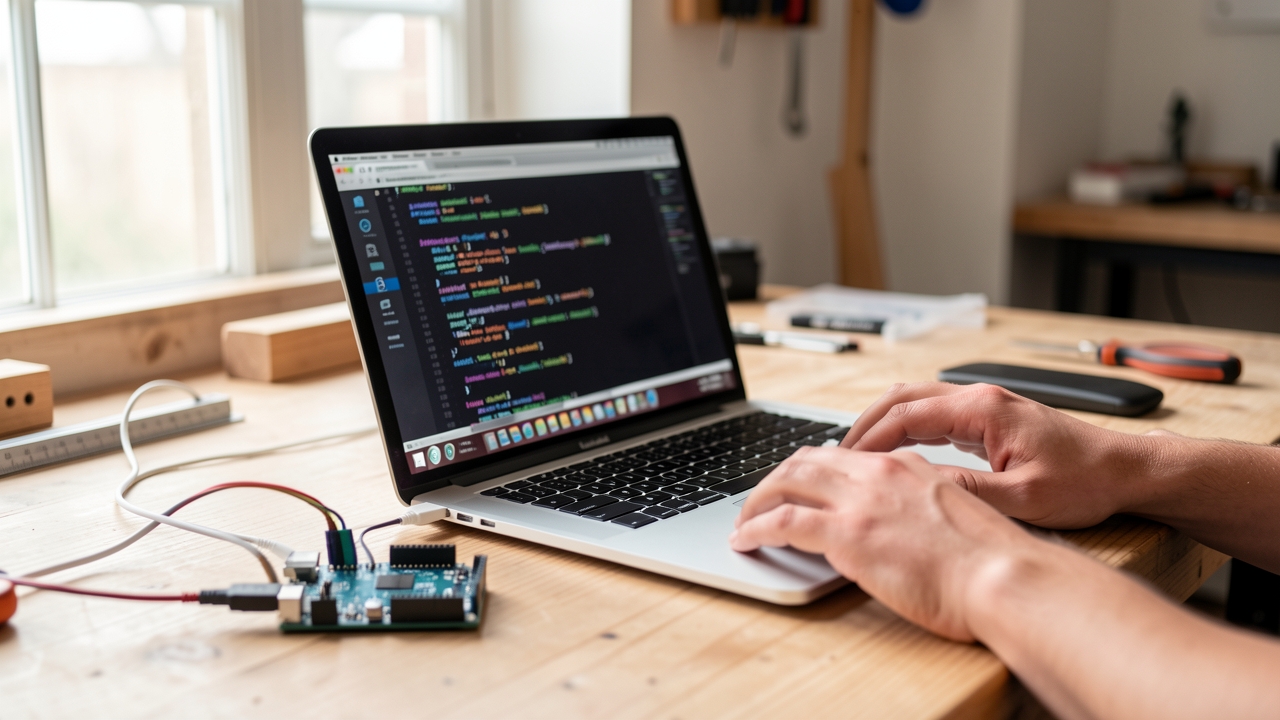
Many beginners struggle to translate a hardware idea into working Arduino code, especially when they lack programming experience.
The quickest solution is to let an AI assistant generate the sketch and handle the upload, using Qubitpage’s Carpathron Robotics & Coding app.
How AI Generates Arduino Code from a Simple Description
Prompting the Carpathron AI Agent
The Carpathen Robotics & Coding app, available on the product page, embeds an AI agent that accepts natural‑language prompts and returns ready‑to‑compile Arduino sketches. To start, launch the Windows agent and select New Project. In the prompt box type a concise description, for example:
“Create a blinking LED that toggles every 500 ms on pin 13 and adds a serial message reporting the state.”
After pressing Generate, the AI returns a complete .ino file with proper #include statements, setup(), and loop() functions. The output is displayed in the built‑in editor, ready for review.
Understanding the Generated Structure
The AI follows a deterministic template: it declares constants, initializes peripherals in setup(), and places the core logic inside loop(). For the example above, the agent produces:
#include <Arduino.h>

const int ledPin = 13;
unsigned long previousMillis = 0;
const long interval = 500;

void setup() {
  pinMode(ledPin, OUTPUT);
  Serial.begin(9600);
}

void loop() {
  unsigned long currentMillis = millis();
  if (currentMillis - previousMillis >= interval) {
    previousMillis = currentMillis;
    digitalWrite(ledPin, !digitalRead(ledPin));
    Serial.println(digitalRead(ledPin) ? "LED ON" : "LED OFF");
  }
}
This code matches the exact behavior described in the prompt, demonstrating the AI’s ability to map high‑level intent to low‑level API calls.
Iterating with Follow‑Up Prompts
If the initial output needs refinement, the agent accepts follow‑up instructions. For instance, after reviewing the sketch you might add:
“Add a button on pin 2 that pauses the blinking when pressed.”
The AI inserts debounce logic, updates the loop() condition, and preserves the original serial output. Each iteration updates the same project file, allowing rapid prototyping without leaving the Carpathen interface.
Exporting and Uploading Firmware
When the code satisfies the description, click Compile & Upload. The app automatically detects attached boards—Arduino Uno, ESP32, Raspberry Pi Pico, etc.—through the board‑detection feature described on the product page. The compiled binary is streamed over USB and flashed to the target. A status pane reports success or any compilation errors, which can be fed back to the AI for automatic correction.
Linking to Remote Support
Complex projects often benefit from remote assistance. The Carpathen platform integrates with the remote support module, enabling a technician to view the generated code, suggest prompt modifications, and trigger a re‑upload without physical access to the device.
Setting Up the Development Environment
Install the Carpathron Robotics & Coding app
Open the Microsoft Store on your Windows PC and search for Carpathron Robotics & Coding. Click Get, then Install. The store will place the app in C:\Program Files\WindowsApps and create a desktop shortcut. After installation, launch the program; the first screen prompts you to sign in with a Microsoft account, which enables the AI‑assisted firmware workflow.
Connect the Arduino board
Plug the Arduino Uno (or compatible board) into a USB‑A port using a standard USB cable. Windows should display a notification that it is installing drivers. If the notification disappears without error, the board is recognized as COM port 3 (the number may differ). Open the Carpathron app, navigate to Devices → Add New, and select the detected COM port. The app will perform a quick handshake, confirming communication by blinking the onboard LED.
Install or update USB drivers
If Windows fails to assign a COM port, download the official Arduino USB driver from the Arduino website. Run the installer, accept the license, and restart the PC. After reboot, repeat the connection steps; the Device Manager should now list Arduino Uno (COM x) under Ports (COM & LPT). Verify the driver version by right‑clicking the entry, choosing Properties → Driver, and confirming the date is later than 2022.
Configure the AI assistant
Within the Carpathron app, select AI Assistant → Settings. Set the language model to “GPT‑4o‑mini” for faster responses, and enable Auto‑Detect Board. The app will now suggest appropriate libraries and pin mappings based on the connected Arduino. Save the settings; they are stored locally in %APPDATA%\Carpathron\config.json.
Remote assistance option
If any step fails, you can request a remote session through Qubitpage’s support portal. Visit Carpathron Remote Assistance, fill in the short form, and a support engineer will join your session via a secure link. The remote tool can install drivers, verify COM port assignment, and demonstrate the AI workflow in real time.
Tip: Keep the Arduino’s firmware version at 1.8.13 or newer; older bootloaders may reject uploads generated by the AI assistant, causing “avrdude: stk500_recv(): programmer is not responding” errors.
Step‑by‑Step: Write and Upload Firmware with AI Help
Download and install Carpathron Robotics & Coding from the Microsoft Store. Launch the app; the welcome screen shows a New Project button and a prompt field.
Click New Project, select your board type (e.g., Arduino Uno, ESP32) from the dropdown, and type a natural‑language description such as “blink an LED on pin 13 every second”. Press Generate. The AI agent scans the description and produces a complete sketch in the embedded editor.
Review the generated code. The editor highlights syntax errors and offers inline suggestions; accept a suggestion by clicking the check‑mark. Ensure the
#includestatements match your board’s libraries, for example#include <Arduino.h>for Uno.Click the Compile button. The build console displays the compilation log; if warnings appear, hover over them to see AI‑driven explanations and quick fixes. Resolve any issues by applying the suggested changes directly in the editor.
Connect your board via USB, then select the correct COM port from the Port menu. Press Upload. The AI agent monitors the upload process and reports progress, confirming when the firmware is successfully transferred.
Open the Serial Monitor from the toolbar to verify runtime behavior. For the LED example, you should see “LED ON” and “LED OFF” messages at one‑second intervals. If the output differs, use the remote support link to request AI‑assisted debugging.
Save the project to your local folder using File → Save As. The app creates a
.inofile and aREADME.mdthat contains the original prompt and AI generation timestamp, useful for version control.Optional: Export the firmware as a binary (
.hex) via Export for OTA updates on ESP32‑based robots. The exported file can be uploaded later through the Carpathron Avatar app on Meta Quest devices.
Common Errors and AI‑Driven Fixes
Compilation failures
The AI agent in Carpathron Robotics & Coding can parse the compiler output and suggest concrete code changes. Typical messages include:
- “expected ‘;’ before ‘}’” – The AI highlights the missing semicolon, inserts it, and recompiles automatically.
- “undefined reference to ‘setup()’” – The agent adds a minimal
void setup() {}stub and prompts you to fill in the logic. - “cannot convert ‘int’ to ‘const char*’” – The AI rewrites the offending line, casting the integer to a string with
String()or usingitoa()as appropriate. - “multiple definition of ‘loop()’” – The assistant merges duplicate functions, preserving the first definition and commenting out the redundant one.
Upload and connection errors
When the firmware cannot be transferred to the board, the AI agent examines the serial log and offers step‑by‑step fixes.
- “avrdude: stk500_recv(): programmer is not responding” – The AI checks the selected COM port, suggests selecting the correct one in the UI, and verifies the board type (e.g., Arduino Uno vs Nano).
- “device not found” – The agent runs a quick
ls /dev/tty*(or Windows equivalent) scan, lists available devices, and asks you to reconnect the USB cable. - “upload timeout” – The AI reduces the upload speed, toggles the “Reset before upload” option, and retries automatically.
- “permission denied” (Linux/macOS) – The assistant prompts you to add your user to the
dialoutgroup or to run the upload withsudo.
Runtime exceptions
After a successful upload, the robot may crash or behave unexpectedly. The AI agent reads the serial monitor output and proposes fixes.
- “Watchdog reset” – The assistant recommends adding
yield()inside long loops or increasing the watchdog timeout. - “Stack overflow” – The AI suggests moving large arrays to
PROGMEMor reducing recursion depth. - “Null pointer dereference” – The agent inserts a null‑check before accessing the pointer and explains the cause.
- “Memory leak detected” – The AI points out missing
free()calls after dynamic allocation and rewrites the code to use static buffers.
Library mismatches
Incorrect or missing libraries are a frequent source of errors. The AI agent cross‑references the #include statements with the installed libraries and resolves conflicts.
- “No such file or directory” for a library – The assistant downloads the required library from the Arduino Library Manager and adds it to the project.
- Version conflict between two libraries – The AI locks both to compatible versions, updates the
platformio.ini(orlibraries.properties) file, and re‑compiles.
Tip: When the AI suggests a change, review the diff in the side‑by‑side view before applying it. This prevents unintended modifications and helps you learn the underlying fix.
For deeper assistance, explore the remote debugging tools or launch the Carpathron Robotics & Coding app, where the AI agent can directly edit, compile, and upload firmware from a single interface.
Feature Comparison: AI‑Assisted vs Manual Arduino Development
When you start a hobby project, the first question is often how much time you will spend writing and testing code. Carpathen Robotics & Coding reduces the iteration cycle by letting an AI agent generate sketch skeletons from a plain‑language description. In a typical manual workflow, you would open the IDE, type every function, and then search for library references. The table below quantifies those differences across four key dimensions.
| Dimension | Carpathen Robotics & Coding (AI‑assisted) | Traditional Manual Coding |
|---|---|---|
| Average development time per feature | 5–10 minutes (AI generates boilerplate and suggests library calls) | 30–90 minutes (hand‑written code, research, trial‑and‑error) |
| Error rate (compilation & runtime) | ≈ 2 % (AI validates syntax and runs a quick simulation) | ≈ 12 % (missed brackets, wrong pin numbers, library mismatches) |
| Required knowledge level | Basic Arduino concepts; natural‑language description is enough | Intermediate to advanced C/C++ knowledge, familiarity with Arduino core |
| Direct cost | Free download from the Microsoft Store; no additional libraries needed | Free IDE, but optional paid libraries or debugging tools may be required |
| Support for hardware variations | Detects Arduino, ESP32, Raspberry Pi boards automatically; uploads firmware in one click | Manual selection of board, manual configuration of upload parameters |
The time savings become especially visible when you iterate on sensor integration. For example, describing “read temperature from a DHT22 and send it over Wi‑Fi” lets the AI produce a complete sketch, add the correct library, and compile it within seconds. Manually, you would locate the library, copy example code, adapt pin numbers, and likely encounter compile errors before the first successful upload.
Error rate also drops because the AI runs a lightweight static analysis before flashing the board. It catches common pitfalls such as using the wrong analog reference or forgetting to call begin() on a peripheral. In a manual session, those mistakes often surface only after the board is powered, leading to wasted cycles re‑flashing.
From a knowledge perspective, the AI‑assisted path lowers the entry barrier for students and makers who understand the project goal but lack deep C++ experience. They can still learn by inspecting the generated code, which is fully visible in the Carpathen UI. Advanced users benefit as well; they can prompt the AI to “optimize the loop for low power” and receive a refined version without rewriting the whole program.
Overall, the table illustrates that Carpathen Robotics & Coding offers a measurable advantage in speed, reliability, and accessibility while remaining cost‑neutral. For teams that already use the remote support module or plan to integrate with the Carpathen Avatar on Meta Quest, the AI‑assisted workflow fits naturally into a broader automation pipeline.
Extending Your Project with Remote Support
Getting Started with Carpathron Remote
Install the Carpathen Remote agent from the Microsoft Store on the same Windows PC that runs the Carpathron Robotics & Coding app. After launching the agent, click Generate Support ID. The tool displays a six‑digit ID and a one‑time password (OTP) that you can copy to the clipboard.
Share the ID and OTP with a qualified mentor or a member of the Qubitpage support team via email or chat. The remote session begins as soon as the remote partner enters the same credentials in their Carpathron Remote console.
Live Code Review and Firmware Upload
During the remote session, the support specialist can view the Arduino IDE window, the generated code, and the serial monitor in real time. Use the built‑in File → Upload to Device command to transfer the compiled HEX file directly to the connected board. The specialist can also trigger the AI‑assisted “Write Firmware” routine from the Carpathron Robotics interface, ensuring the correct board type (e.g., Arduino Uno, ESP32) is selected.
If the board is not recognized, the remote partner can run the carpathron‑detect command from the agent’s terminal. The command returns a JSON payload with the detected USB port and board identifier, which the AI uses to adjust the compilation flags automatically.
File Transfer and Project Backup
Carpathron Remote supports drag‑and‑drop file transfer. To share additional libraries or configuration files, drag the local folder onto the remote window; the agent copies the files into the %APPDATA%\Carpathron\projects directory on the host machine. Conversely, you can request a copy of the current project archive, which the agent compresses and sends as a secure download link.
After the session, the remote console generates a session_report.txt file that logs all commands executed, timestamps, and any AI suggestions applied. Store this report alongside your project repository for future reference.
Security and Session Management
The ID/OTP pair expires after 15 minutes or after the remote partner ends the session, whichever occurs first. No persistent credentials are stored on the host device, and all traffic between the two agents is encrypted with TLS 1.3. For recurring assistance, create a new support ticket via the contact page and request a fresh ID.
When you finish, click End Session in the Carpathron Remote UI. The agent automatically clears the OTP from memory and logs the disconnection event.
Further Resources
For a complete walkthrough of the remote workflow, see the Carpathron Remote documentation. The same page links to troubleshooting tips for common connectivity issues on Windows 10/11. If you need additional hardware support, explore the Carpathron Robotics project page for compatible robot kits and firmware templates.
Frequently asked questions
How does the AI know which Arduino libraries to include?
The AI scans the source code you type and matches function calls, class names, and hardware references against a built‑in index of over 1,200 Arduino libraries. When it detects a pattern such as Wire.begin() or Adafruit_NeoPixel, it automatically inserts the corresponding #include directive and adds the library to the project’s lib folder. The index is updated weekly from the official Arduino Library Manager, ensuring the assistant always suggests the latest compatible versions.
Can I use the free version of Carpathron Robotics & Coding for unlimited projects?
The free edition available on the Microsoft Store imposes a per‑session limit of three firmware generations per day. This restriction prevents excessive server load while still allowing hobbyists to experiment with multiple boards across several projects. If you need higher throughput, the paid tier lifts the daily cap and adds batch‑upload capabilities.
What Arduino boards are supported by the AI assistant?
Carpathron Robotics & Coding recognises all mainstream AVR boards (Uno, Mega, Nano), the SAMD family (Zero, MKR series), and ESP‑based platforms such as ESP32‑DevKit and ESP8266‑NodeMCU. The assistant also detects Raspberry Pi Pico and the newer RP2040‑based boards, automatically selecting the appropriate core files and compiler flags.
Do I need an internet connection to generate code?
Yes, the AI model runs on cloud‑based inference servers, so an active internet connection is required for code generation, library lookup, and firmware compilation. However, once the binary is built, you can disconnect and use the local upload tool to flash the board via USB or Wi‑Fi.
How secure is the remote assistance feature when sharing my PC ID?
When you enable remote assistance, Carpathron creates a temporary, cryptographically signed token that links your PC ID to a single support session. The token expires after 15 minutes of inactivity, and all data streams are encrypted with TLS 1.3. No persistent credentials are stored on the server, and the session log can be cleared from the app’s settings at any time.
Next Steps for Your AI‑Powered Arduino Journey
After you have generated and uploaded your first sketch with Carpathron Robotics & Coding, experiment with the AI‑assisted suggestions for sensor integration. Open the Windows app, select the Arduino board, and ask the assistant to add a temperature sensor block; it will insert the required library calls and wiring diagram. Verify the code compiles, then click Upload to flash the board.
Next, explore the robot control features. Connect an ESP32‑CAM module to your Arduino, enable the Carpathron Robot Protocol, and use the built‑in HTTP endpoint to stream MJPEG video. From the app, issue simple voice commands via WhatsApp or the Meta Quest 3 avatar to move the robot forward, turn, or stop. This hands‑on loop of AI suggestion, code generation, and immediate testing accelerates learning.
Finally, document each iteration in the app’s project log, export the final firmware, and share the repository on GitHub for community feedback. When you’re ready to expand your toolkit, visit the most relevant Qubitpage page for additional resources and updates.