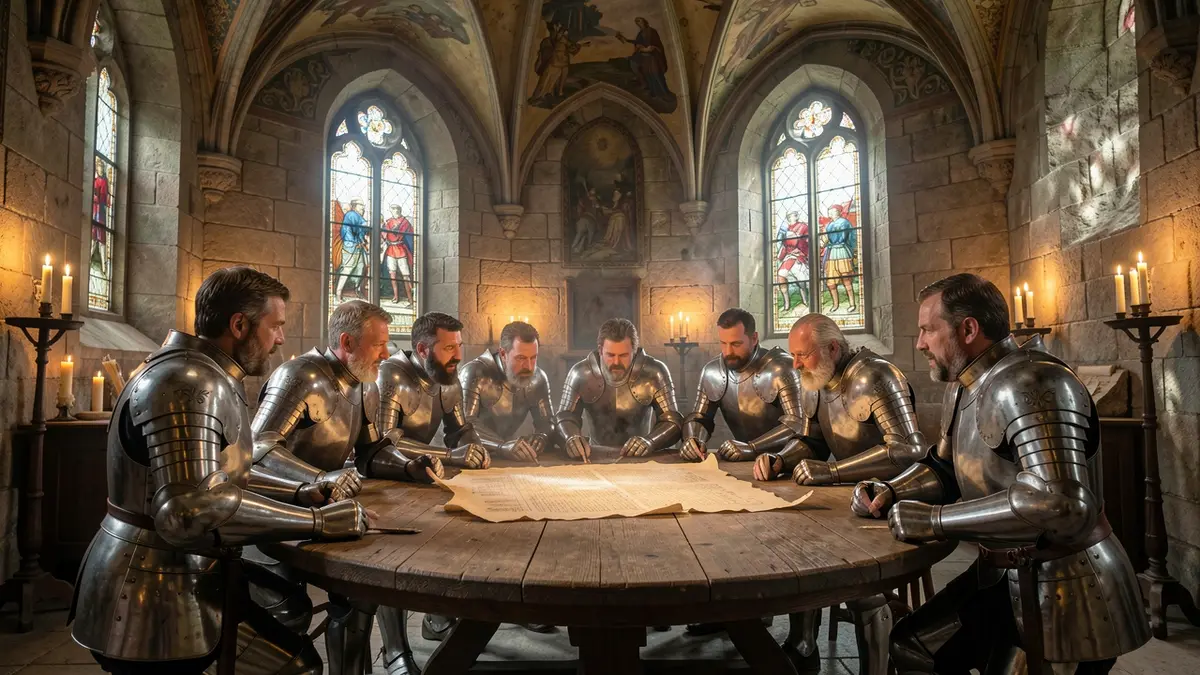
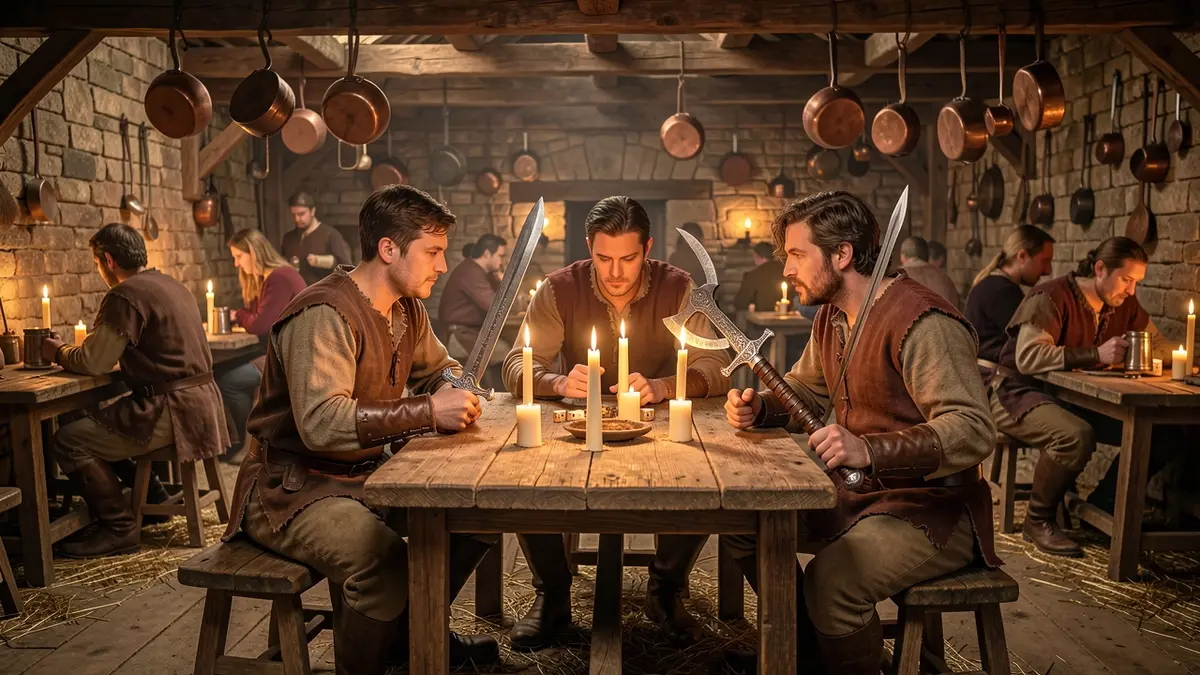
Players of Ordo Draconis often wonder which of the three available classes best matches their preferred combat style.
The answer depends on whether you favor heavy melee, versatile ranged attacks, or magical spellcasting, and we break down each option for you.
What makes each Ordo Draconis class unique
Core identity of the Dragon Knight
The Dragon Knight is built around a classic melee tank archetype. Armed with a sword and a shield, this class excels at absorbing damage while keeping enemies within striking distance. Its defensive focus is reinforced by the game's growth system, where points allocated to Strength and Vitality increase both attack power and survivability. In combat, the Dragon Knight can hold a frontline position, protecting allies and forcing foes to engage through its shield block mechanic.
Core identity of the Lancer of the Order
The Lancer blends the reach of a spear with the versatility of a bow, offering a hybrid playstyle that adapts to both close‑quarters and ranged encounters. By investing points in Agility, the Lancer gains faster attack speed and improved mobility, allowing quick transitions between thrusting attacks and swift arrow shots. This dual‑weapon approach makes the Lancer effective at controlling space, pulling enemies into range for spear thrusts, then retreating to rain arrows from a distance.
Core identity of the Solomonar
The Solomonar is the dedicated spellcaster of the trio, wielding a staff to channel elemental magic. Its power scales with Energy points, which boost spell damage and reduce cooldowns. The class can unleash fire, ice, or lightning effects depending on the chosen spell, providing crowd‑control options and burst damage that complement the more physically oriented classes. Because spells are cast from a distance, the Solomonar relies on positioning and timing to avoid direct retaliation.
How the three classes complement each other
Each class fills a distinct tactical niche within the 3D role‑playing world of Ordo Draconis. The Dragon Knight anchors the party, absorbing hits that would otherwise overwhelm the Lancer or Solomonar. The Lancer bridges the gap, delivering sustained damage while maintaining enough mobility to evade the Solomonar’s spells when necessary. Meanwhile, the Solomonar adds a layer of magical utility, softening enemy groups or targeting high‑value foes that resist physical attacks. This design encourages players to consider party composition and synergy when selecting a class.
Distinct visual and narrative cues
Beyond mechanics, the classes are differentiated by their historical fantasy aesthetic. The Dragon Knight’s armor features dragon motifs and a broad shield emblazoned with the Order’s crest, reinforcing its role as a protector of the realm. The Lancer’s attire blends light mail with a flowing cape, and its spear bears intricate runes that hint at both martial and ranged expertise. The Solomonar dons robes of deep violet, with a staff topped by a crystal that glows according to the element being summoned, emphasizing the character’s scholarly connection to the secretive magical traditions of the Order.
Understanding these core identities helps players anticipate how each class will behave in the game's chapter‑by‑chapter narrative, from the early streets of Nuremberg to the haunted ruins beneath Poenari.
Dragon Knight: melee tank and shield specialist
Core combat role
The Dragon Knight is built around a classic sword‑and‑shield playstyle. In combat the class wields a broad‑blade sword for forward thrusts and slashes while keeping a sturdy shield raised to absorb incoming attacks. This combination lets the Dragon Knight hold the front line, protect allies, and control enemy positioning.
Durability and survivability
Durability is the Dragon Knight’s primary strength. The class receives a higher base Vitality than the other two classes, which translates into a larger health pool and stronger resistance to status effects. When a shot lands, the shield’s block rating reduces damage by a fixed percentage, and successful blocks generate a small amount of health regeneration over the next few seconds. This makes the Dragon Knight reliable in prolonged fights against groups of monsters or boss encounters.
Typical stat growth
Stat progression follows the pattern used throughout the game: kills and quest completions award points that can be allocated to the four core attributes. For the Dragon Knight, most players invest heavily in Strength and Vitality. Strength increases sword damage and the shield’s knock‑back effect, while Vitality expands the health bar and improves the shield’s durability rating. A balanced build might allocate 55 % of earned points to Strength, 35 % to Vitality, and the remaining 10 % to Agility for occasional dodge timing.
Equipment and upgrades
Armour and weapons drop from monsters and bosses and can be upgraded using the same system that powers the other classes. Because the Dragon Knight relies on heavy armour, upgrading plate pieces yields the greatest boost to damage mitigation. Weapon upgrades focus on increasing the sword’s base damage and adding elemental effects that synergise with the class’s high Strength.
Playstyle tips
Effective Dragon Knights learn to time shield blocks to trigger the health‑regen bonus, then follow up with a powerful sword combo while the enemy is staggered. Positioning is also key: by standing between foes and vulnerable party members, the Dragon Knight forces enemies to attack the shield first, buying time for healers or ranged allies.
Tip: When a boss enters a charge phase, raise the shield just before impact to maximise block reduction, then unleash a charged sword strike during the brief stun window.
For more details on the overall class system see the Ordo Draconis project page. If you want to visualise the Dragon Knight’s armor and weapon designs, many of the 3D assets were created with Carpathron Studio, which can render character models directly from concept art.
Lancer: spear and bow hybrid for flexible combat
Core combat style
The Lancer of the Order blends close‑range spear thrusts with ranged bow shots, allowing players to switch between melee and distance without changing equipment. In practice, a Lancer can start a fight by pulling an enemy into melee range, delivering a quick spear combo, then retreat to fire a precise arrow while maintaining momentum. This fluid transition supports both aggressive pushes and tactical retreats.
Stat development
Progression for the Lancer emphasizes a balanced increase in Agility and Strength. Killing monsters and completing quests award points that can be allocated to either attribute, mirroring the MU Online‑style growth system. Investing in Agility improves bow accuracy, attack speed, and evasion, while Strength boosts spear damage and the ability to break enemy shields. Because both stats feed directly into the Lancer’s dual weapon set, most players find a 1:1 distribution yields the most consistent performance across varied encounters.
Equipment and skill synergy
Spears in the game have a longer reach than the Dragon Knight’s sword, enabling the Lancer to hit enemies before they close in. Bow attacks, on the other hand, benefit from the class’s higher Agility, granting faster reload times and better critical hit chances. The skill tree includes “Piercing Volley,” a bow ability that fires three arrows in a spread, and “Charging Thrust,” a spear skill that adds a knock‑back effect. Using “Charging Thrust” to create distance and then following up with “Piercing Volley” creates a loop that maximizes damage while keeping the Lancer mobile.
Role in party composition
Within a party, the Lancer fills the niche of a flexible damage dealer. While the Dragon Knight absorbs frontline hits, the Lancer can flank enemies, apply pressure from range, and still contribute to shield‑breaking when needed. The Solomonar’s spells often target groups; a Lancer can finish off weakened foes with rapid spear strikes before the spell cooldown expires. This synergy makes the Lancer valuable in both solo exploration and coordinated group battles.
Practical tips for new players
- Begin each quest by equipping a medium‑weight spear and a short‑bow; this ensures both attack types are available from the start.
- Allocate the first ten stat points evenly between Agility and Strength; adjust later based on whether you prefer faster bow attacks or heavier spear blows.
- Use the “Charging Thrust” skill to create space when enemies close too quickly, then switch to “Piercing Volley” to punish them from afar.
- Take advantage of the “Next episode” feature in Carpathron Studio to reuse character references across multiple scenes, keeping the Lancer’s visual consistency when filming story cutscenes.
Where to learn more
For deeper insight into the Lancer’s animation pipeline, see the Carpathron Studio documentation, which explains how the spear and bow models are integrated with AI‑generated video shots. Additional class details are available on the Ordo Draconis project page.
Solomonar: spellcaster with elemental power
Core attributes and play style
The Solomonar class relies on Energy and Agility as its primary growth stats. Energy fuels the staff‑based spells, while Agility determines casting speed and evasion during combat. Players who enjoy positioning, timing, and managing a resource pool will find the Solomonar rewarding.
Unlike the melee‑focused Dragon Knight or the hybrid Lancer, the Solomonar does not use a shield. Instead, the character wields a staff that channels elemental forces. The class can switch between ranged burst attacks and area‑of‑effect (AoE) spells, allowing adaptation to both single‑target encounters and groups of enemies.
Spell variety and elemental options
The class offers a diverse spell list that draws from fire, ice, lightning and earth elements. Each spell consumes a portion of the Energy pool, and the amount varies with the spell’s power level. Example spells include:
- Flame Surge – a short‑range fire blast that ignites enemies for damage over time.
- Glacial Shard – fires a piercing ice projectile that slows the target’s movement.
- Storm Rift – creates a temporary lightning field that damages any foe standing within it.
- Stone Guard – summons a temporary earth barrier that absorbs a set amount of damage.
Spells can be upgraded through quest rewards and monster drops, increasing both damage and Energy efficiency. The upgrade system mirrors the growth mechanic described in the Ordo Draconis project, where kills and quests grant points that can be allocated to Strength, Agility, Vitality and Energy.
Integration with the game’s world
All Solomonar spells are tied to the historical fantasy setting of 15th‑century Europe. For instance, Flame Surge is flavored as a “dragon’s breath” echoing the secret families of the Illuminated crown kings, while Stone Guard references the fortified castles of the period. This narrative integration helps maintain immersion while giving each spell a distinct visual and thematic identity.
The class also benefits from the same item and equipment system used by other classes. Staffs can be enhanced with elemental runes found on monsters or purchased from merchants, further boosting spell potency or reducing Energy cost.
Tip: Prioritize Agility upgrades early to reduce spell cooldowns, then invest in Energy to sustain longer casting sequences during boss fights.
For developers interested in the technical pipeline behind the Solomonar’s visual effects, the staff animations and spell particles are created with Carpathron Studio and refined in Blender, ensuring consistent quality across all platforms planned for the game.
How to pick the right class for your play style
Choosing between Dragon Knight, Lancer of the Order, and Solomonar begins with a quick self‑audit. Identify whether you prefer to stand in the front line, strike from medium distance, or control the battlefield with spells. The following steps walk you through that assessment and match it to the stat system used in Ordo Draconis: The Unlit.
- Define your combat range. If you enjoy absorbing damage and protecting allies, mark “close‑quarters.” If you like alternating between melee and ranged attacks, choose “mid‑range.” If you prefer attacking from a distance while staying out of harm’s way, select “long‑range.”
- Map range to class archetype. Close‑quarters aligns with the Dragon Knight, mid‑range with the Lancer, and long‑range with the Solomonar.
- Check your preferred stat focus. Dragon Knight benefits from high Strength and Vitality; Lancer thrives on Strength and Agility; Solomonar excels with Energy and moderate Vitality for spell sustainability.
- Consider your role in a party. If you want to be the primary tank, the Dragon Knight is the default. For a damage‑dealer who can also provide crowd‑control, the Lancer fits. When you aim to supply elemental damage and buffs, the Solomonar is the logical choice.
- Test a short scenario. Start a new game, create a character of each class, and complete the first quest. Observe which play‑feel feels most natural – the heavy swings of the Dragon Knight, the quick thrusts of the Lancer, or the spell‑casting rhythm of the Solomonar.
- Review the stat allocation screen. Verify that the points you earn from kills and quests can be invested in your desired attributes without excessive re‑balancing.
- Finalize your decision. Choose the class that best matches your range, stat preference, and party role. Remember you can continue a film with the same characters using Carpathron Studio’s “Next episode” feature if you later want to experiment with another class in a new play‑through. Learn more about Carpathron Studio.
After you have selected a class, use the checklist below to confirm that the choice fits your overall gameplay goals.
- Combat range matches the class’s default weapon set.
- Primary stat priorities (Strength, Agility, Vitality, Energy) align with your preferred build.
- Party role (tank, damage dealer, spellcaster) is covered by the class.
- First‑quest performance feels comfortable and enjoyable.
- Stat points earned per kill/quest can be allocated without frequent over‑capping.
Following this structured approach reduces trial‑and‑error and lets you dive into the narrative of 15th‑century Europe with confidence. If you later decide to explore a different play style, the “Next episode” function lets you start a fresh film with a new class while preserving story continuity. Contact us for any further clarification.
Class comparison table
The three playable archetypes in Ordo Draconis share a common growth system but differ in combat focus, stat priorities, and the role they excel at in a party. Below is a concise side‑by‑side view that helps you decide which class aligns with your preferred play style.
| Class | Weapon type | Primary stats | Typical role | Ideal player type |
|---|---|---|---|---|
| Dragon Knight | Sword + shield | Strength + Vitality | Front‑line tank, damage absorber | Players who enjoy protecting allies and leading charges |
| Lancer of the Order | Spear / bow | Agility + Strength | Versatile damage dealer, can switch between melee thrusts and ranged shots | Players who like adaptable combat and positioning |
| Solomonar | Staff (spellcasting) | Energy + Intelligence (derived from Energy) | Area‑of‑effect spellcaster, crowd control | Players who prefer magical combos and managing enemy groups |
All classes use the same point‑allocation system: kills and quests award points that can be invested in Strength, Agility, Vitality, or Energy. A Dragon Knight will typically allocate most points to Strength and Vitality to survive heavy hits, while a Lancer balances Strength for thrust damage with Agility for bow accuracy and dodge chance. The Solomonar focuses on Energy to boost spell potency and may sprinkle a few points into Vitality for survivability.
When forming a party, consider complementary roles. Pairing a Dragon Knight with a Solomonar creates a sturdy frontline that can absorb damage while the spellcaster controls the battlefield. Adding a Lancer provides a flexible bridge, delivering both ranged pressure and melee support. This synergy reduces the need for separate healers because the Dragon Knight’s high Vitality and the Solomonar’s crowd‑control spells together mitigate incoming threats.
For deeper insight into character creation and stat distribution, see the Carpathron Studio documentation, which outlines how the game's 3D assets are generated and how the AI‑driven animation pipeline supports each class’s unique visual style.
Frequently asked questions
Which class is best for beginners who want straightforward combat?
The Dragon Knight offers the most direct combat style, using a sword and shield that provide clear defensive and offensive options. Its melee focus requires less reliance on ranged tactics or spell management, making it a solid entry point for new players. The class also benefits from the game's consistent armor and weapon drops, allowing beginners to equip suitable gear quickly.
Can I switch classes later in Ordo Draconis?
Current development details do not mention a class‑switching mechanic, so players are expected to choose a class at character creation and remain with it throughout the story. Since each class has distinct growth paths and equipment types, changing later would affect the balance of Strength, Agility, Vitality and Energy allocation. Keep an eye on future updates for any announced class‑change feature.
How do the stat growth curves differ between Dragon Knight, Lancer, and Solomonar?
All three classes allocate points to Strength, Agility, Vitality and Energy based on kills and quests, but the emphasis varies. Dragon Knights typically invest more in Strength and Vitality to sustain melee encounters, while Lancers balance Strength with Agility to support spear and bow attacks. Solomonars prioritize Energy for spellcasting, with Agility supporting movement and spell timing. These differing curves shape each class’s role in combat.
Is the Solomonar effective in solo play without a party?
Solomonars rely on staff‑based spells, which can damage multiple enemies and provide utility effects, making them viable for solo exploration. However, their lower defensive gear compared to the Dragon Knight means players must manage positioning and spell cooldowns carefully. Successful solo runs often involve focusing on Energy growth to maximize spell potency.
Do any classes have advantages in specific story chapters or boss fights?
Chapter design incorporates varied enemy types, so each class can shine in different sections. Dragon Knights tend to excel in close‑quarter battles found in early chapters like Nuremberg, where shield durability mitigates heavy hits. Lancers benefit from ranged spear attacks during open‑field encounters later in the story. Solomonars can exploit magical weaknesses of Unlit bosses, especially when the boss mechanics emphasize spell resistance. Choosing a class aligned with a chapter’s combat style can reduce difficulty spikes.
Choosing the class that feels right for you
When you start Ordo Draconis: The Unlit, think first about combat style. The Dragon Knight excels with sword and shield, offering steady defense and reliable melee damage; it suits players who prefer to stay in the front line and protect allies. The Lancer of the Order adds reach with a spear and flexibility with a bow, making it a good fit for those who like to switch between close‑quarters thrusts and ranged shots. If spellcasting appeals more, the Solomonar’s staff and spells provide area effects and crowd control, rewarding careful timing and resource management.
Consider how you want to grow your character. All three classes use the same four attribute points—Strength, Agility, Vitality, Energy—so you can shape a hybrid build if you enjoy mixing melee and magic. Test each class in the early chapters; the game lets you restart without penalty, so you can feel the rhythm of each weapon before committing to a long‑term build.
Whichever path you choose, the narrative will follow Vlad’s journey through 15th‑century Europe, and your class will determine how you interact with the hidden forces of the Unlit. Explore more details about the project and keep an eye on upcoming updates.